Troubleshooting AirPods Mic Issues
Are you experiencing microphone issues with your AirPods? Don’t worry, we’ve got you covered! Here are some troubleshooting steps to help you resolve the problem:
- Check if the microphone is clean and clear of any debris.
- Ensure that your AirPods are connected properly to your device.
- Restart your device and try again.
- Update your AirPods firmware to the latest version.
- If all else fails, contact Apple Support for further assistance.
Follow these steps to troubleshoot AirPods mic issues and get back to enjoying clear communication!
Troubleshooting AirPods Mic Issues
Having trouble with the microphone on your AirPods? Don’t worry, you’re not alone. Many users encounter issues with the mic functionality, which can be frustrating when trying to make calls, record audio, or use voice commands. In this comprehensive guide, we’ll walk you through troubleshooting steps to help you get your AirPods’ microphone working again seamlessly.
The Importance of a Functioning Mic
The microphone is a crucial component of the AirPods, enabling you to make calls and interact with voice-activated features on your devices. However, when the mic starts acting up, it can hinder the overall functionality and user experience. Whether you’re facing muffled audio, distorted sound, or complete silence, it’s essential to address the issue promptly to ensure you can effectively communicate and take full advantage of the AirPods’ capabilities.
1. Check for Obstructions
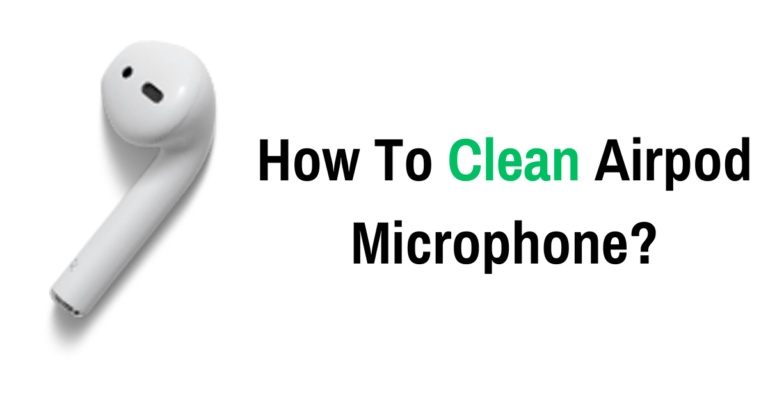
The first step in troubleshooting your AirPods’ microphone is to ensure there are no physical obstructions that may be blocking the mic or causing interference. Start by inspecting the external part of the AirPods for any debris, dirt, or lint. If you spot anything, gently clean the AirPods using a soft, lint-free cloth. Pay close attention to the microphone area, located at the bottom of the stem on each AirPod.
If cleaning doesn’t resolve the issue, check the microphone holes for any blockages. These tiny holes can become clogged over time, affecting the audio quality. To clear any obstructions, you can use a brush with soft bristles or a clean, dry toothbrush. Gently brush the holes, ensuring you don’t press too hard or damage the microphone. Once you’ve removed any potential blockages, test the mic to see if the issue has been resolved.
If the problem persists, move on to the next troubleshooting step.
2. Update Your AirPods and iOS
Outdated software can contribute to microphone issues on your AirPods. Ensure both your AirPods and iOS device are running the latest software versions. To update your AirPods, make sure they’re connected to your iOS device and go to the “Settings” app. Tap on “General,” then “About,” and if an update is available, you’ll see a prompt to install it.
Similarly, to update your iOS device, go to the “Settings” app, tap on “General,” then “Software Update.” If an update is available, follow the on-screen instructions to install it. After updating both your AirPods and iOS devices, test the microphone to see if the issue has been resolved.
If the problem persists, try the next troubleshooting step.
3. Reset Your AirPods
Resetting your AirPods may help resolve microphone issues that stem from software glitches or incorrect settings. To reset your AirPods, follow these steps:
- Place your AirPods in the charging case and keep the lid open.
- On your iOS device, go to the “Settings” app and tap on “Bluetooth.”
- Locate your AirPods in the list of connected devices and tap the “i” icon next to them.
- Tap “Forget This Device,” then confirm your selection.
- With the lid of the charging case still open, press and hold the setup button on the back of the case until the LED light on the front starts flashing amber.
- Release the setup button, close the lid of the charging case, and wait for a few seconds.
- When you reopen the lid, your AirPods should be in pairing mode. Follow the on-screen instructions to reconnect them to your iOS device.
Once the reset process is complete, test the microphone to see if the issue has been resolved.
4. Contact Apple Support
If you’ve exhausted all the troubleshooting steps and your AirPods’ microphone still isn’t working properly, it may be time to seek assistance from Apple Support. They can provide further guidance and explore potential hardware issues that may require repair or replacement.
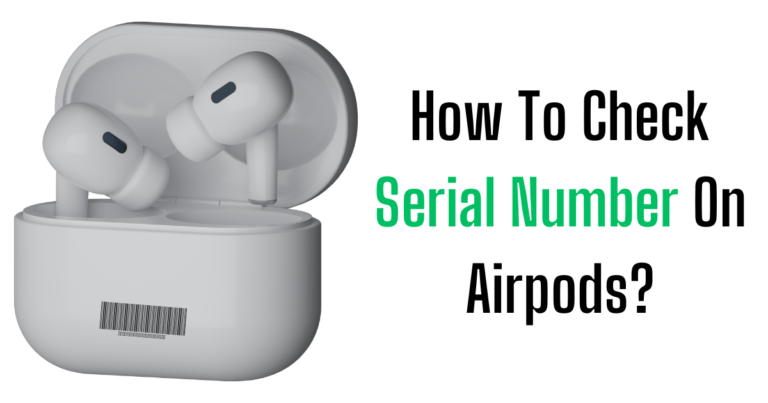
It’s important to note that if your AirPods are still under warranty, any necessary repairs or replacements may be covered. Be sure to have your product serial number and proof of purchase ready when contacting Apple Support for a smoother resolution process.
Remember: Always refer to the official Apple support channels for the most accurate and up-to-date information regarding your specific AirPods model and troubleshooting steps.
Additional Tips for Optimal Mic Performance
In addition to troubleshooting mic issues, there are several tips you can follow to optimize the performance of your AirPods’ microphone:
Finding the Right Fit
Ensure that your AirPods fit comfortably and securely in your ears, as a loose fit or improper placement can affect the microphone’s performance. If your AirPods don’t fit properly, you can try adjusting the position or consider using different ear tips.
Minimizing Background Noise
Avoid using your AirPods’ microphone in noisy environments whenever possible. Background noise can interfere with the clarity of your voice and make it harder for the person on the other end to hear you. Find a quieter location or use noise-cancellation features if available.
Keeping Your AirPods Clean
Regularly clean your AirPods to prevent dirt and debris buildup. Wipe them down with a soft, lint-free cloth and keep the charging case free from dust and grime. A clean and well-maintained set of AirPods can ensure optimal audio quality and microphone performance.
By following these troubleshooting steps and implementing these tips, you’ll be well on your way to resolving any microphone issues with your AirPods. Remember to stay up to date with the latest software updates and reach out to Apple Support if needed. Don’t let mic issues hold you back from enjoying the full potential of your AirPods!
Frequently Asked Questions
Having trouble with the microphone on your AirPods? Don’t worry, we’ve got you covered. Check out these common questions about troubleshooting AirPods mic issues.
1. Why is the microphone on my AirPods not working?
There can be several reasons why the microphone on your AirPods may not be working. First, check if the microphone is obstructed by any debris or dust particles. Clean it gently with a soft, lint-free cloth. If that doesn’t work, try restarting your device and reconnecting your AirPods. If the issue persists, make sure your AirPods are updated to the latest firmware. Lastly, if nothing else works, contact Apple support for further assistance.
Remember, the microphone on the AirPods is located at the bottom of the stem, so ensure there are no obstructions that could be blocking it. It’s also worth checking if the microphone works on other devices to rule out any hardware issues.
2. Can I use only one AirPod as a microphone?
Yes, you can use just one AirPod as a microphone. AirPods have a feature called “Microphone Routing” that automatically switches the microphone to the AirPod that has the best audio input. So, if you’re only using one AirPod, it will act as a microphone for calls and other audio input. This is especially useful if you prefer to keep one ear free or if you’ve misplaced the other AirPod.
To use only one AirPod as a microphone, make sure the other AirPod is either in the charging case or turned off. The active AirPod will then serve as the microphone for your calls and audio input.
3. Why is the microphone volume low or muffled on my AirPods?
If you’re experiencing low or muffled microphone volume on your AirPods, it could be due to dirt or debris blocking the microphone. First, try cleaning the microphone carefully with a soft, lint-free cloth. Additionally, make sure there are no obstructions in front of the microphone, such as your hand or clothing. Adjusting the position of the AirPods in your ears may also improve the volume and clarity of the microphone.
If the issue continues, check if there are any software updates available for your AirPods and install them. You can also try resetting your AirPods by holding down the button on the back of the charging case until the LED indicator starts flashing. If none of these solutions work, it’s recommended to contact Apple support for further assistance.
4. Is there a way to disable the microphone on AirPods completely?
No, there is no way to disable the microphone on AirPods completely. The microphone is an integral part of the AirPods and is required for various features, such as making calls, using Siri, and interacting with voice commands. However, you can prevent the microphone from being active during calls by muting the microphone on your device or using the mute function on your communication app if available.
If you don’t want audio input from the AirPods, you can simply remove them from your ears or turn off Bluetooth on your device. Keep in mind that disabling the microphone on AirPods entirely is not possible, as it is essential for their primary functionalities.
5. How can I improve the microphone quality on my AirPods?
To improve the microphone quality on your AirPods, make sure they are clean and free of any obstructions. Use a soft, lint-free cloth to gently clean the microphones. Additionally, ensure the AirPods are positioned correctly in your ears to optimize the audio input. If you’re in a noisy environment, try to minimize background noise as much as possible for clearer recordings or calls.
If you’re still not satisfied with the microphone quality, you can try using a third-party microphone accessory designed specifically for AirPods. These accessories can enhance the audio input and provide better overall microphone performance. However, it’s advisable to research and choose a reputable accessory that suits your specific needs and is compatible with your AirPods.

Affiliate Disclosure: Tech24BD.xyz is a participant in the Amazon Services LLC Associates Program, an affiliate advertising program designed to provide a means for sites to earn advertising fees by advertising and linking to Amazon.com